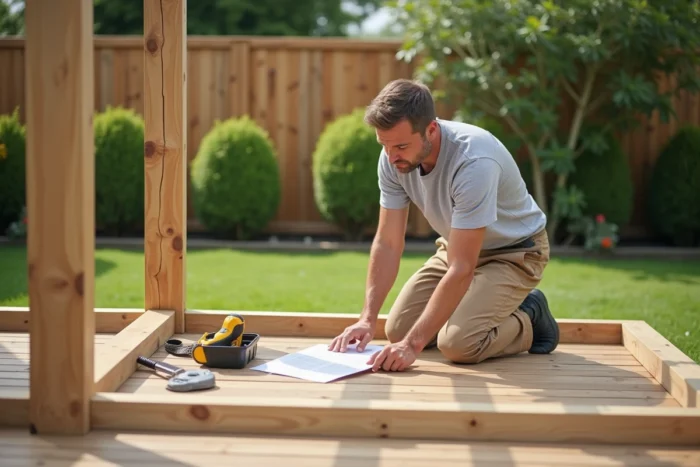
A wooden pergola kit purchased from a DIY superstore is not difficult to assemble. The real issue, the one that can turn a DIY weekend into an administrative nightmare or a project restart, lies upstream: ground preparation and compliance with urban planning regulations. Neglecting these two points is akin to assembling a structure destined for disassembly.
Soil and anchoring constraints before any wooden pergola kit
The majority of instructions for kits sold at Brico Dépôt assume a flat, stable, and draining ground. In practice, we observe that most private properties do not meet these three conditions simultaneously.
Clay soil expands in winter and contracts in summer. The anchoring plates provided in the kit do not compensate for this differential movement. On this type of terrain, concrete footings poured below the frost line are the only reliable option to prevent the posts from tilting in the medium term.
On an existing slab, the problem is different. A terrace slab poured without sufficient reinforcement can crack under the tension of chemical anchors, especially in windy areas. Before drilling, we recommend checking the thickness of the slab (a simple core drill is sufficient) and ensuring it exceeds the minimum threshold indicated in the kit’s instructions.
Water drainage also deserves special attention. A pergola attached to the facade alters rainwater runoff. If the slope of the terrace directs water towards the wall, a drainage channel should be planned or the slope corrected before assembly, not after.
Prior declaration and urban planning rules for a terrace pergola
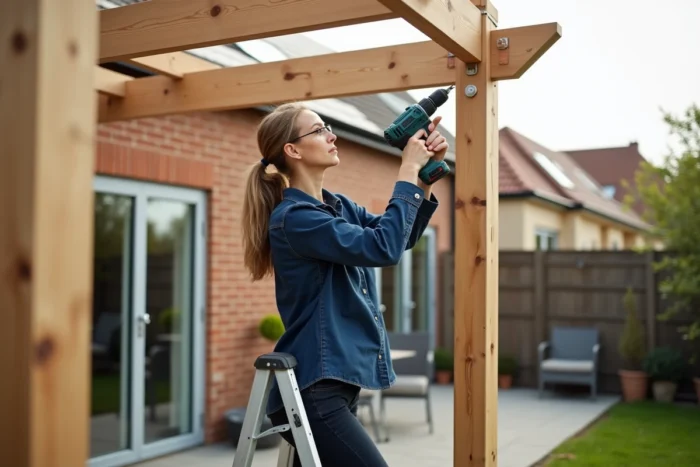
Even before opening the first box, the breaking point of a wooden pergola project often takes place at the town hall. Successfully assembling a wooden pergola from Brico Dépôt requires having validated the regulatory feasibility of the structure on your plot.
Any pergola fixed to the ground requires at least a prior declaration of works. The created floor area and the footprint determine the applicable regime. Beyond a certain surface threshold, a building permit is required.
Processing times vary significantly. In protected areas (around a historical monument, classified site), expect significantly longer delays than in ordinary zones. In Wallonia, the administration recommends checking with the municipality before starting work, and the time to obtain a permit can range from 30 to 115 days once the file is declared complete.
A common case: the Local Urban Plan imposes a minimum distance from property boundaries. A 3 x 4 m pergola kit may seem modest, but once the roof overhangs are included, the actual footprint can exceed the allowed limit. Checking the PLU before purchase avoids a return to the store.
Assembly of posts and solid wood supporting structure
The actual assembly begins with a complete inventory of the parts and screws. This step, often overlooked, prevents the vast majority of blockages during assembly. Spread all the pieces on the ground, compare with the kit list, and identify each element before picking up the screwdriver.
For the posts, verticality is the critical parameter. A deviation of a few millimeters at the base translates into several centimeters of offset at the top of the post. We recommend a spirit level of at least 60 cm and systematic checks on two perpendicular faces with each tightening of the plate.
The assembly order follows a structural logic:
- Fix the plates to the ground according to the layout markings, respecting the exact spacing indicated in the instructions
- Erect the posts one by one, temporarily holding them with clamps or props before tightening them definitively
- Assemble the supporting beams (top crossbeams), starting with the wall beam if the pergola is attached
- Install the rafters or covering slats last, once the structure is fully stabilized
Do not tighten any bolts completely until everything is level. Adjusting play is possible as long as the fixings remain slightly loose. Once everything is locked, correcting an alignment defect requires disassembly.
Durability of wood and maintenance after pergola installation
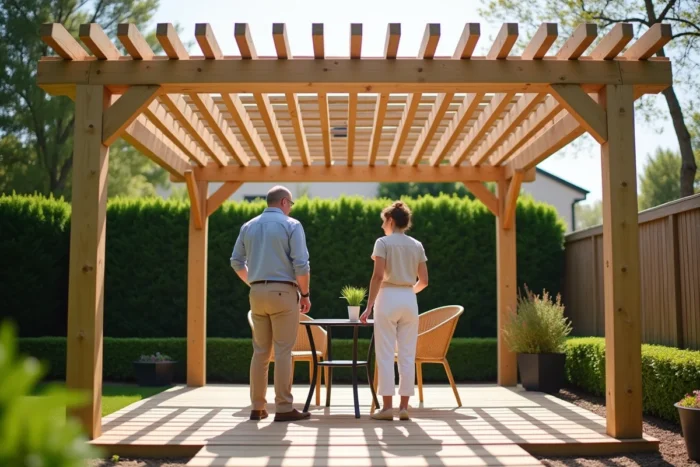
The solid or laminated wood used in DIY pergola kits generally receives factory autoclave treatment. This treatment protects against wood-boring insects and fungi, but it does not eliminate the need for regular maintenance.
A saturator applied within three months of assembly significantly extends the wood’s resistance to UV and moisture. Without this protection, graying appears as early as the first season. The saturator penetrates the fibers without forming a film, preventing peeling unlike a traditional stain.
Points of vigilance to monitor each year:
- The post-plate joints, where water stagnates if drainage is insufficient
- The horizontal faces of the beams and rafters, constantly exposed to the elements
- The metal fixings (bolts, brackets), which can cause rust streaks if they are not stainless steel or treated
The choice of wood species also affects the frequency of maintenance. Treated softwood requires refreshing every two years or so. Larch or Douglas fir, naturally more resistant, extend this schedule without eliminating it completely.
The wooden pergola remains a structure exposed at all times. Treating it like a garden furniture piece that is forgotten outside halves its lifespan. A planned maintenance routine from the time of assembly, with the right products stored in the garage, transforms a purchase meant for a few seasons into a lasting terrace enhancement.